Sustainable Services

Earthbag Construction

Realizing the Full Potential of Earthbag Construction — an ancient, inexpensive, and sustainable building method.

Earthbag construction involves filling polypropylene bags with sand, clay, or a mixture of both, then stacking them into dome or square structures. The dome technique uses the same earthbags to build the roof (superadobe) and requires no special foundation. Square structures need a timber roof and trench foundation.

Originally used to provide emergency shelter for refugees in times of war, earthbag construction has since become a proven, inexpensive, and sustainable building method. Earthbag buildings have been tested for their ability to endure fire, flood, wind, earthquake, and vermin — and are used in disaster-prone zones worldwide.

Earthbag Construction

Materials Required

Earth (Sand / Clay) — Extracted from the building site. Almost any soil can be used — include some clay in sandy areas and vice versa. Do not use topsoil as it contains impurities. Remove any aggregates larger than a golf ball. Mixing ratio: 25–30% clay, 70–75% sandy soil, 10% moisture.
Barbed Wire (Fencing Wire) — Provides tensile strength while the earthbags provide compressive strength. Ideal type: 12-gauge steel wire with four points and a barb every 5 inches.
Polypropylene Bags — Standard rice packing bags, widely available. Use the largest size possible to cover a full span. Must be strong enough to withstand the compression of the tamper.

Equipment Required

Tamper — for compacting earthbags
Buckets, Shovels, and Wheelbarrows — for mixing and transporting material
Polythene Sheets — for moisture protection in foundations
Compasses — for laying out circular dome structures

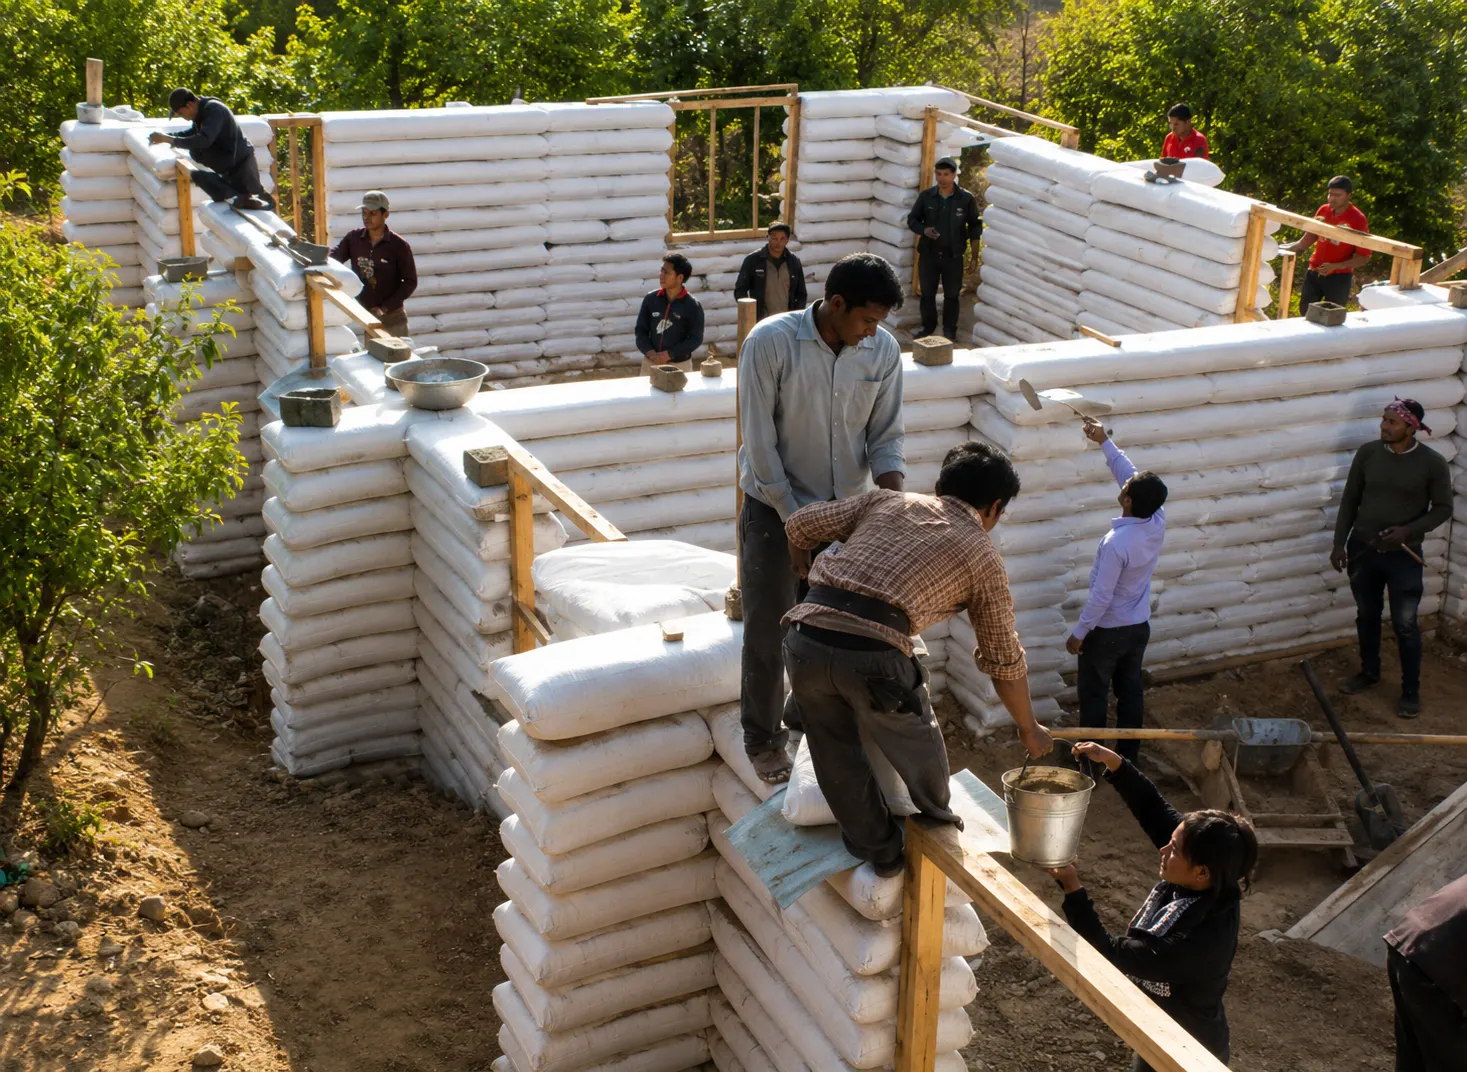
Type 1 — Square Structure

Earthbags are placed in a square or rectangular pattern with a wooden roof installed on top. Requires a trench foundation with wooden beams, lintels, and a lightweight roof.

Step 1 — Foundation & Drainage — Dig wider than the earthbag wall (15") and 3ft deep. Place a polythene sheet at the bottom, add drainage pipes, then fill with coarse aggregates or rubble to 6" below ground level. Compact thoroughly.
Step 2 — First Layer of Aggregates — Add coarse aggregates or rubble until 6" below finished grade. Tamp until even and solid with minimum voids between particles.
Step 3 — Second Layer of Aggregates — Fill gravel into double polypropylene bags. Place bags on a level gravel bed 6" lower than finished soil level. Keep bags aligned.
Step 4 — Barbed Wire & Final Layer — Place barbed wire on top of the first gravel layer, then add the second layer of gravel bags to 6" above ground level to control moisture. Always overlap bags with the layer below.
Walls — Build earthbag walls using the sand/clay mixture. Always place bags overlapping the layer below for structural integrity.
Roof — A lightweight timber or steel roof is installed on top of the earthbag walls using wooden beams and lintels.
Plastering — Apply lime plaster or mud-straw plaster. Fill all spaces between vertical earthbag layers. Plastering is essential — earthbags alone cannot withstand extreme rain and plastering provides both weather resistance and structural strength.

Type 2 — Dome Structure (Superadobe)

Introduced by Nadir Khalili in the 1980s. No separate wooden or steel roof is required — the roof is built as a dome using the same earthbags. The dome follows a lancet arch shape at every layer.

Foundation — Dig a trench the height of two earthbags and place two layers of earthbags bonded with barbed wire. Cover with a plastic sheet to prevent moisture from entering the foundation.
Walls & Roof — Earthbags are placed in a circular shape following the lancet arch — no special roof needed. Every bag must be laid following superadobe principles. The geometry and placement of each bag is critical.
Plastering — Apply lime plaster or mud-straw plaster inside and out. Fill all gaps between vertical bag layers. Essential for weather resistance and structural strength.
Flooring — Compact the ground, apply fine clay and water plaster, then coat with linseed oil for a smooth finished surface.